Reinvent Your Rental Without a Single Drill

Welcome, renter-friendly creatives! Today we dive into No-Drill Rental Makeovers, celebrating bold style without holes, patches, or deposit drama. Expect clever adhesives, tension rods, plug-in lighting, peel-and-stick surfaces, and portable storage, backed by real stories, budgets, and expert-tested tips you can try tonight. Snap a before photo, set a tiny goal, and share progress with our community; we will cheer, answer questions, and help you plan upgrades you can remove in minutes when it is time to move or refresh.

Start Smart: Plan for Impact Without Damage

Know Your Lease and Local Rules

Before sticking anything, read every clause about walls, fixtures, and alterations, then email your landlord for written clarifications. Screenshots of approvals can save headaches. Document pre-existing scuffs so your upgrades are never blamed. If you are in a historic building or short-term rental, some adhesives or coverings might be restricted. Set realistic timelines around inspections, plan easy removals before move-out, and track costs so you can reuse pieces in your next place without surprises or last-minute stress.

Measure Twice, Stick Once

Nothing protects walls like careful measuring. Use painter’s tape to mock layouts at full scale, verify furniture clearance, and mark cable routes. Check adhesive weight ratings, wall paint sheen, and humidity levels that affect grip. Create a hanging grid for art using a level and a laser line, then step back and review in daylight and evening lighting. Keep a peel-and-stick test patch for twenty-four hours to confirm bond. When everything aligns, commit confidently and enjoy fuss-free placement.

Palette and Texture Strategies That Peel Away Cleanly

Build a cohesive color story using removable wallpaper accents, oversized art, plush textiles, and layered rugs that anchor zones without a single hole. Blend matte finishes with glossier pieces to bounce light around dim rentals. Add texture through linen curtains on tension rods, cork boards mounted with gentle strips, and woven baskets that hide clutter. Choose a limited palette so pieces travel beautifully to your next home. Photograph combinations, gather feedback, and refine until every element feels intentional and reversible.

Walls That Wow Without Holes

Create striking backdrops using materials designed to release cleanly. Start with color blocks formed by painter’s tape, then graduate to peel-and-stick panoramas or textured murals you can remove in minutes. Build gallery walls with damage-free hardware rated for your frames, and lean larger pieces for dramatic scale. Balance negative space with curated clusters to avoid clutter fatigue. If your walls are imperfect, decals and oversized canvases disguise bumps beautifully. Invite friends to vote on layouts before you commit for confident styling.

Removable Wallpaper and Decals Done Right

Choose brands that advertise repositionable adhesive and provide samples. Wipe walls with isopropyl alcohol, avoid fresh paint, and align patterns using vertical reference lines. Trim edges with a sharp blade and keep spare offcuts for outlet surrounds. For renters with textured walls, consider fabric-based options that bridge minor texture. When it is time to move, pull slowly at a low angle and warm adhesive with a hair dryer if needed. Share your favorite sources and finishes to help others succeed.

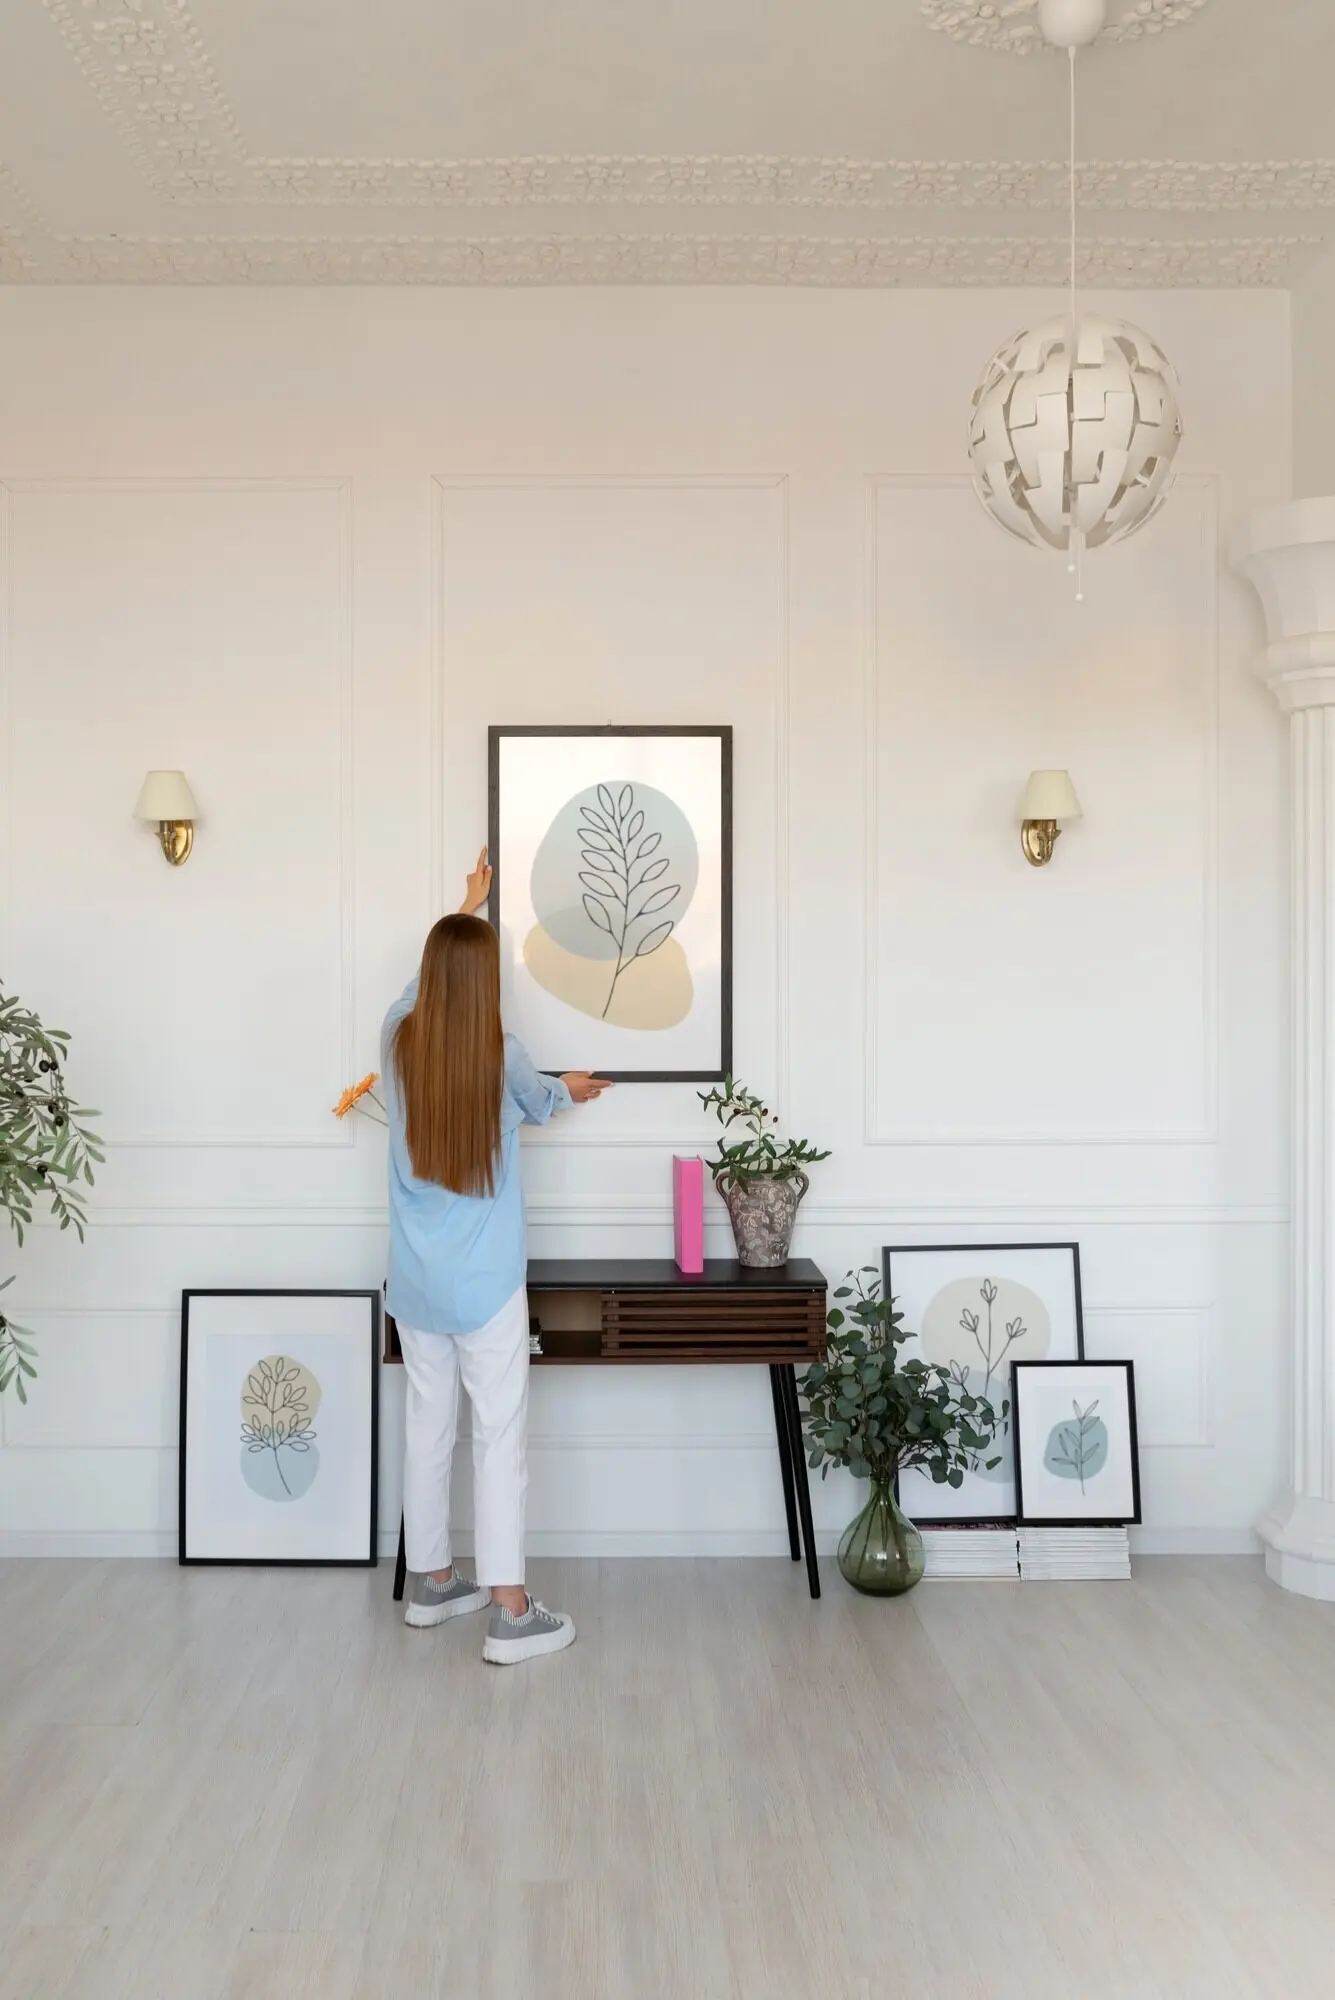
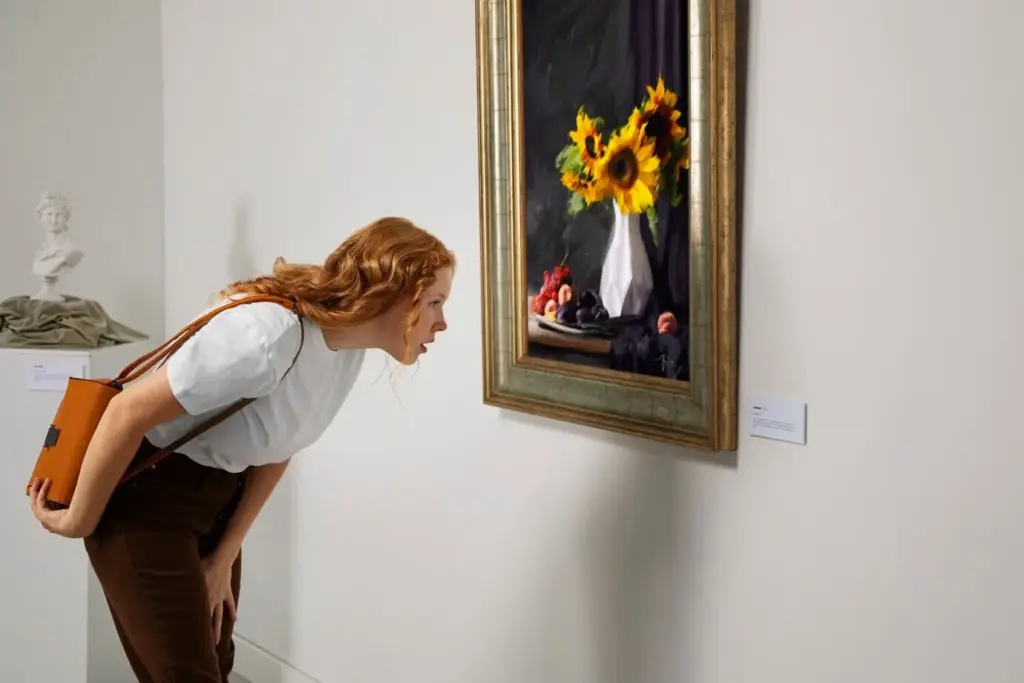
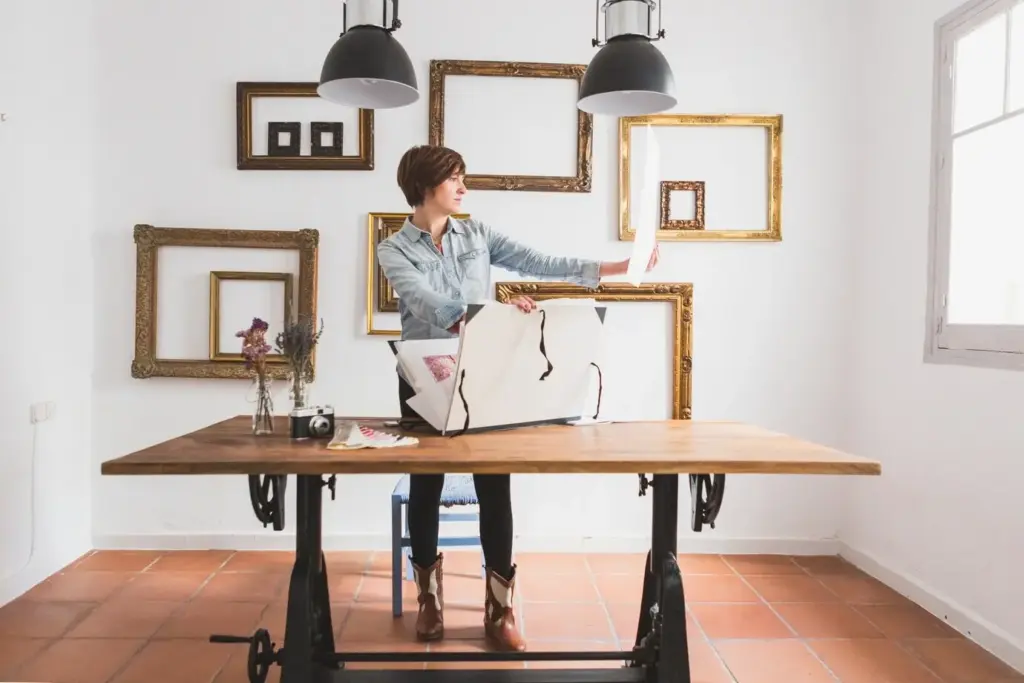
Art Displays with Damage-Free Hardware

Command strips and hooks unlock gallery walls without nails. Pair strip size with frame weight, add extra pieces for large glazing, and press firmly for the full recommended time. Create paper templates, tape them to the wall, and adjust until the spacing feels balanced from multiple vantage points. Combine frames with wall-mounted ledges adhered using rated foam tape for cards and postcards. Track humidity changes seasonally, and refresh strips annually for safety. Snap progress photos and post your final arrangement for feedback.

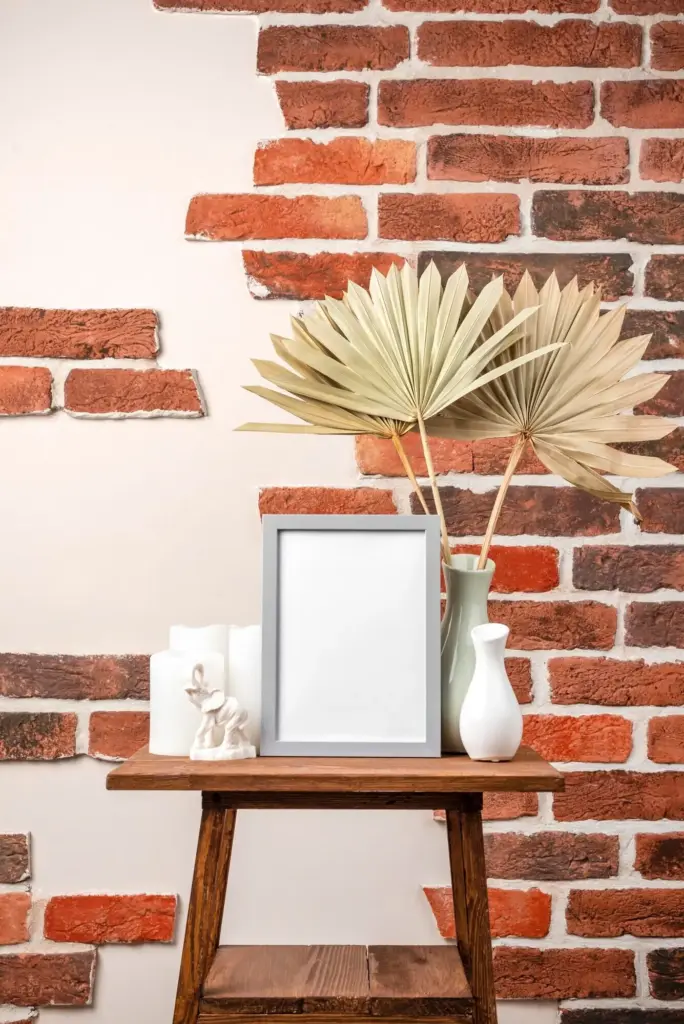
Leaners and Oversized Mirrors for Instant Depth

Floor mirrors, large canvases, and tall pinboards can simply lean, providing scale and light without holes. Add discreet non-slip pads at the base, and consider a barely-there anti-tip tether that uses removable adhesives for extra security. Reflect natural light into darker corners and frame vignettes with plants or a slim console. Rotating blankets or textiles behind a leaner offers seasonal color quickly. Share your best angles and before-and-after reflections to inspire others who are working with narrow hallways or low ceilings.

Kitchen and Storage Upgrades You Can Take With You

Turn cramped kitchens into flexible workstations using portable islands, carts, and metro-style shelving on wheels. Protect cabinets with removable liners and add peel-and-stick backsplash panels that shrug off steam. Use tension bars inside cabinets for cutting boards, adhesive hooks for pot lids, and magnetic strips for utensils. When space is tight, go vertical with stackable bins labeled clearly. Roll everything aside for deep cleans or entertaining. Photograph configurations that work, note shopping links, and share your most efficient setups with the community.

Peel-and-Stick Backsplashes That Survive Steam

Choose backsplash tiles rated for kitchens, preferably thicker gel or rigid panels that resist heat. Degrease walls thoroughly, dry completely, and start from a straight reference edge. Stagger seams, roll firmly, and caulk with removable silicone tape where splashes occur. Around outlets, cut carefully using a safety ruler and fresh blade. If your rental has irregular walls, score relief cuts to prevent bubbles. Track performance through cooking cycles, and report which brands clean easily without lifting. When moving, warm panels gently and peel slowly.

Tension Rods, Adhesive Hooks, and Vertical Space

Multiply storage by installing tension rods under sinks for sprays, between cabinets for dish towels, and inside closets for spice baskets. Pair with adhesive hooks for mitts and measuring cups, keeping weights within limits. Use over-the-door racks on pantry doors to host snacks or cleaning kits. Map a vertical triangle of frequently used items to reduce steps while cooking. This modular approach adapts as habits evolve, keeps surfaces clear, and removes cleanly. Share your favorite configurations and clever placements for small apartments.

Freestanding Islands, Carts, and Modular Shelving

A compact island with locking casters gives you prep space, breakfast seating, and hidden storage without touching walls. Combine metal shelving with clip-on baskets, magnetic labels, and bins that slide like drawers. Add a butcher-block top and a removable rail for utensils mounted with gentle adhesive brackets. When entertaining, roll components to form a buffet or bar. Photograph different layouts, note what improves circulation, and export your checklist so it travels to your next place. Leave no marks, only better workflows.

Light It Up with Plug-In Creativity

Lighting changes everything in a rental, and you can elevate it overnight. Use plug-in sconces, swagged pendants, and clamp lamps to build layered illumination without electrical work. Hide cables with removable raceways or painted cord covers. Combine warm-white bulbs for coziness and daylight bulbs for tasks. Smart bulbs add dimming and routines without switches. Test placements at night, photograph glare and shadows, and adjust angles or shades. Share your favorite cozy corners and post links so readers can duplicate your results safely.

Bathroom Bliss in a No-Hammer Afternoon

Transform the smallest room with moisture-aware, removable upgrades. Add peel-and-stick tiles behind the sink, swap tired shower curtains, and hang shelves with suction or adhesive systems rated for humidity. Use tension caddies to organize bottles, and install a spa-style mirror with fog-resistant film. Fresh towels and eucalyptus elevate mood instantly. Test every adhesive for steam resistance, and keep a cleaning routine that protects finishes. Share product wins, fail stories that help others, and quick resets you can complete before guests arrive.

Peel-and-Stick Tiles, Vinyl, and Contact Paper

Choose bathroom-rated materials labeled waterproof and heat resistant. Degrease, dry, and prime with a removable prep solution if recommended. Around curves, warm surfaces with a hair dryer and smooth with a felt squeegee. For vanity makeovers, wrap flat fronts with contact paper and edge with removable trim tape. Keep spare pieces for touch-ups after deep cleans. Track how grout-look panels handle steam, and share longevity notes. When leaving, gently lift edges, roll material back onto liners, and buff surfaces to original sheen.

Over-the-Door, Tension, and Leaning Storage

Maximize vertical real estate using over-the-door organizers for towels and hair tools, tension corner caddies for bottles, and leaning ladders for quick-dry linens. Confirm door clearances and weight limits before loading. Corral small items inside labeled pouches clipped to adhesive hooks on cabinet doors. Choose finishes that echo fixtures for cohesion. Photograph what tends to topple, then adjust shelf spacing or basket styles. Encourage readers to comment with their most efficient configurations so everyone benefits from tested, drill-free storage strategies.

Steam-Safe Styling and Cleaning Routines

Condensation challenges adhesives, so schedule quick wipe-downs after showers and crack a window or run a timer-enabled fan. Use squeegees to protect peel-and-stick surfaces and switch to gentle cleaners that will not degrade glue. Place bath mats where drips collect and rotate them weekly. Every season, review bonds, replace worn strips, and celebrate how easily everything refreshes. Share your maintenance checklist and favorite resilient materials to reduce guesswork for new renters seeking spa-level comfort without tools, holes, or repair fees.

Floors and Windows That Look Built-In, Yet Leave No Trace

Ground your rooms and control light with reversible solutions. Layer rugs for texture, cover uneven floors with temporary tiles, and define zones for dining or work. For windows, use tension rods, clip rings, and thermal liners to manage privacy and temperature. Static-cling films soften street views without residue. Choose lengths that skim the floor for tailor-made polish. Keep installation notes for future apartments, and share photos of morning and evening light to help others select fabrics, opacities, and patterns confidently.

Layered Rugs, Mats, and Temporary Floor Tiles

Anchor seating with a large natural-fiber rug, then layer a patterned accent for color and comfort. Add cushioned mats in kitchens for fatigue relief, and explore peel-and-stick tiles for damaged rentals. Confirm tiles are renter-rated and test removal on a closet corner. Use rug pads to protect existing floors and prevent creeping. Map circulation paths, avoiding edges where people trip. When seasons change, rotate or swap layers to refresh effortlessly. Share vendors, cleaning tricks, and exact sizes that worked in tight layouts.

Curtain Tricks with Tension Rods and No-Sew Hems

Mount drapery using double tension rods for layered sheers and blackout panels without hardware. Choose taller heights to fake higher ceilings and extend rods wider to reveal more glass. Hem with iron-on tape for crisp custom lengths. Add clip rings to change fabrics seasonally, and conceal cords behind panels. If drafts persist, insert thermal liners using pins that do not pierce rods. Document measurements, fabric weights, and favorite pleat styles, then share your best combinations so others can replicate polished, reversible window dressing.

Privacy, Light Control, and Rental-Safe Films

Static-cling films add privacy without glue, ideal for street-level windows or bath glass. Clean thoroughly, spray with soapy water, and squeegee bubbles from the center outward. Test opacity samples at different times of day to balance brightness and seclusion. Pair with sheer curtains for texture and airflow. For home offices, consider glare-reducing tints that peel off cleanly. When moving, lift a corner gently and roll the film back onto its liner. Post your before-and-after shots and brand reviews to guide other renters.
Puxotemazupolomoli
Privacy Overview

This website uses cookies so that we can provide you with the best user experience possible. Cookie information is stored in your browser and performs functions such as recognising you when you return to our website and helping our team to understand which sections of the website you find most interesting and useful.